In my plans to model the NKP's Wheeling District and branch lines between Pittsburg Junction and Dillonvale/Pine Valley Yard, I knew I would need staging yards to hold trains going to or from the east and west ends of the layout.
A large east end staging yard is planned to start just a bit beyond Pittsburg Junction and will represent Brewster, Ohio. A large majority of traffic will flow to and from this direction on my layout, with much of this being coal loads and empty hoppers. As an interesting side note, WESTBOUND traffic was superior on the W&LE and later the Nickel Plate's Wheeling District.
The west end staging yard will begin beyond the Pine Valley Yard at Dillonvale and will represent the eastern end of the mainline at Terminal Junction near Martin's Ferry, Ohio and the end of the Stubenville Branch at Mingo Junction, Ohio. Because both ends of the main and branch follow the Ohio River, I've taken to referring to this staging yard as the Ohio River Staging Yard. The size of this staging yard will be more modest as during a potential 12 hour operating session only 5-6 trains might enter or exit. Mainly the eastbound TT fast freights and the Yorkville locals.
I always knew the Ohio River staging yard would be located under the Adena yard/wye benchwork and connect to Pine Valley with a steep grade and a swing out section but it was originally planned as a stub ended yard. However after laying out some of my 1/4 30" curve templates I realized I could fit a 5-6 track return loop yard instead! I decided to go ahead and build the loop since it would appease my son for running his big modern trains and make operation setup a little easier.
In the spring I started construction on the Ohio River staging yard. I used craft paper to create a template and also to make sure it would fit under the Adena wye in the corner of the room. I used birch plywood to create the 4 curved subsections but I switched to regular plywood for the rest of it when I ran out of the good stuff.
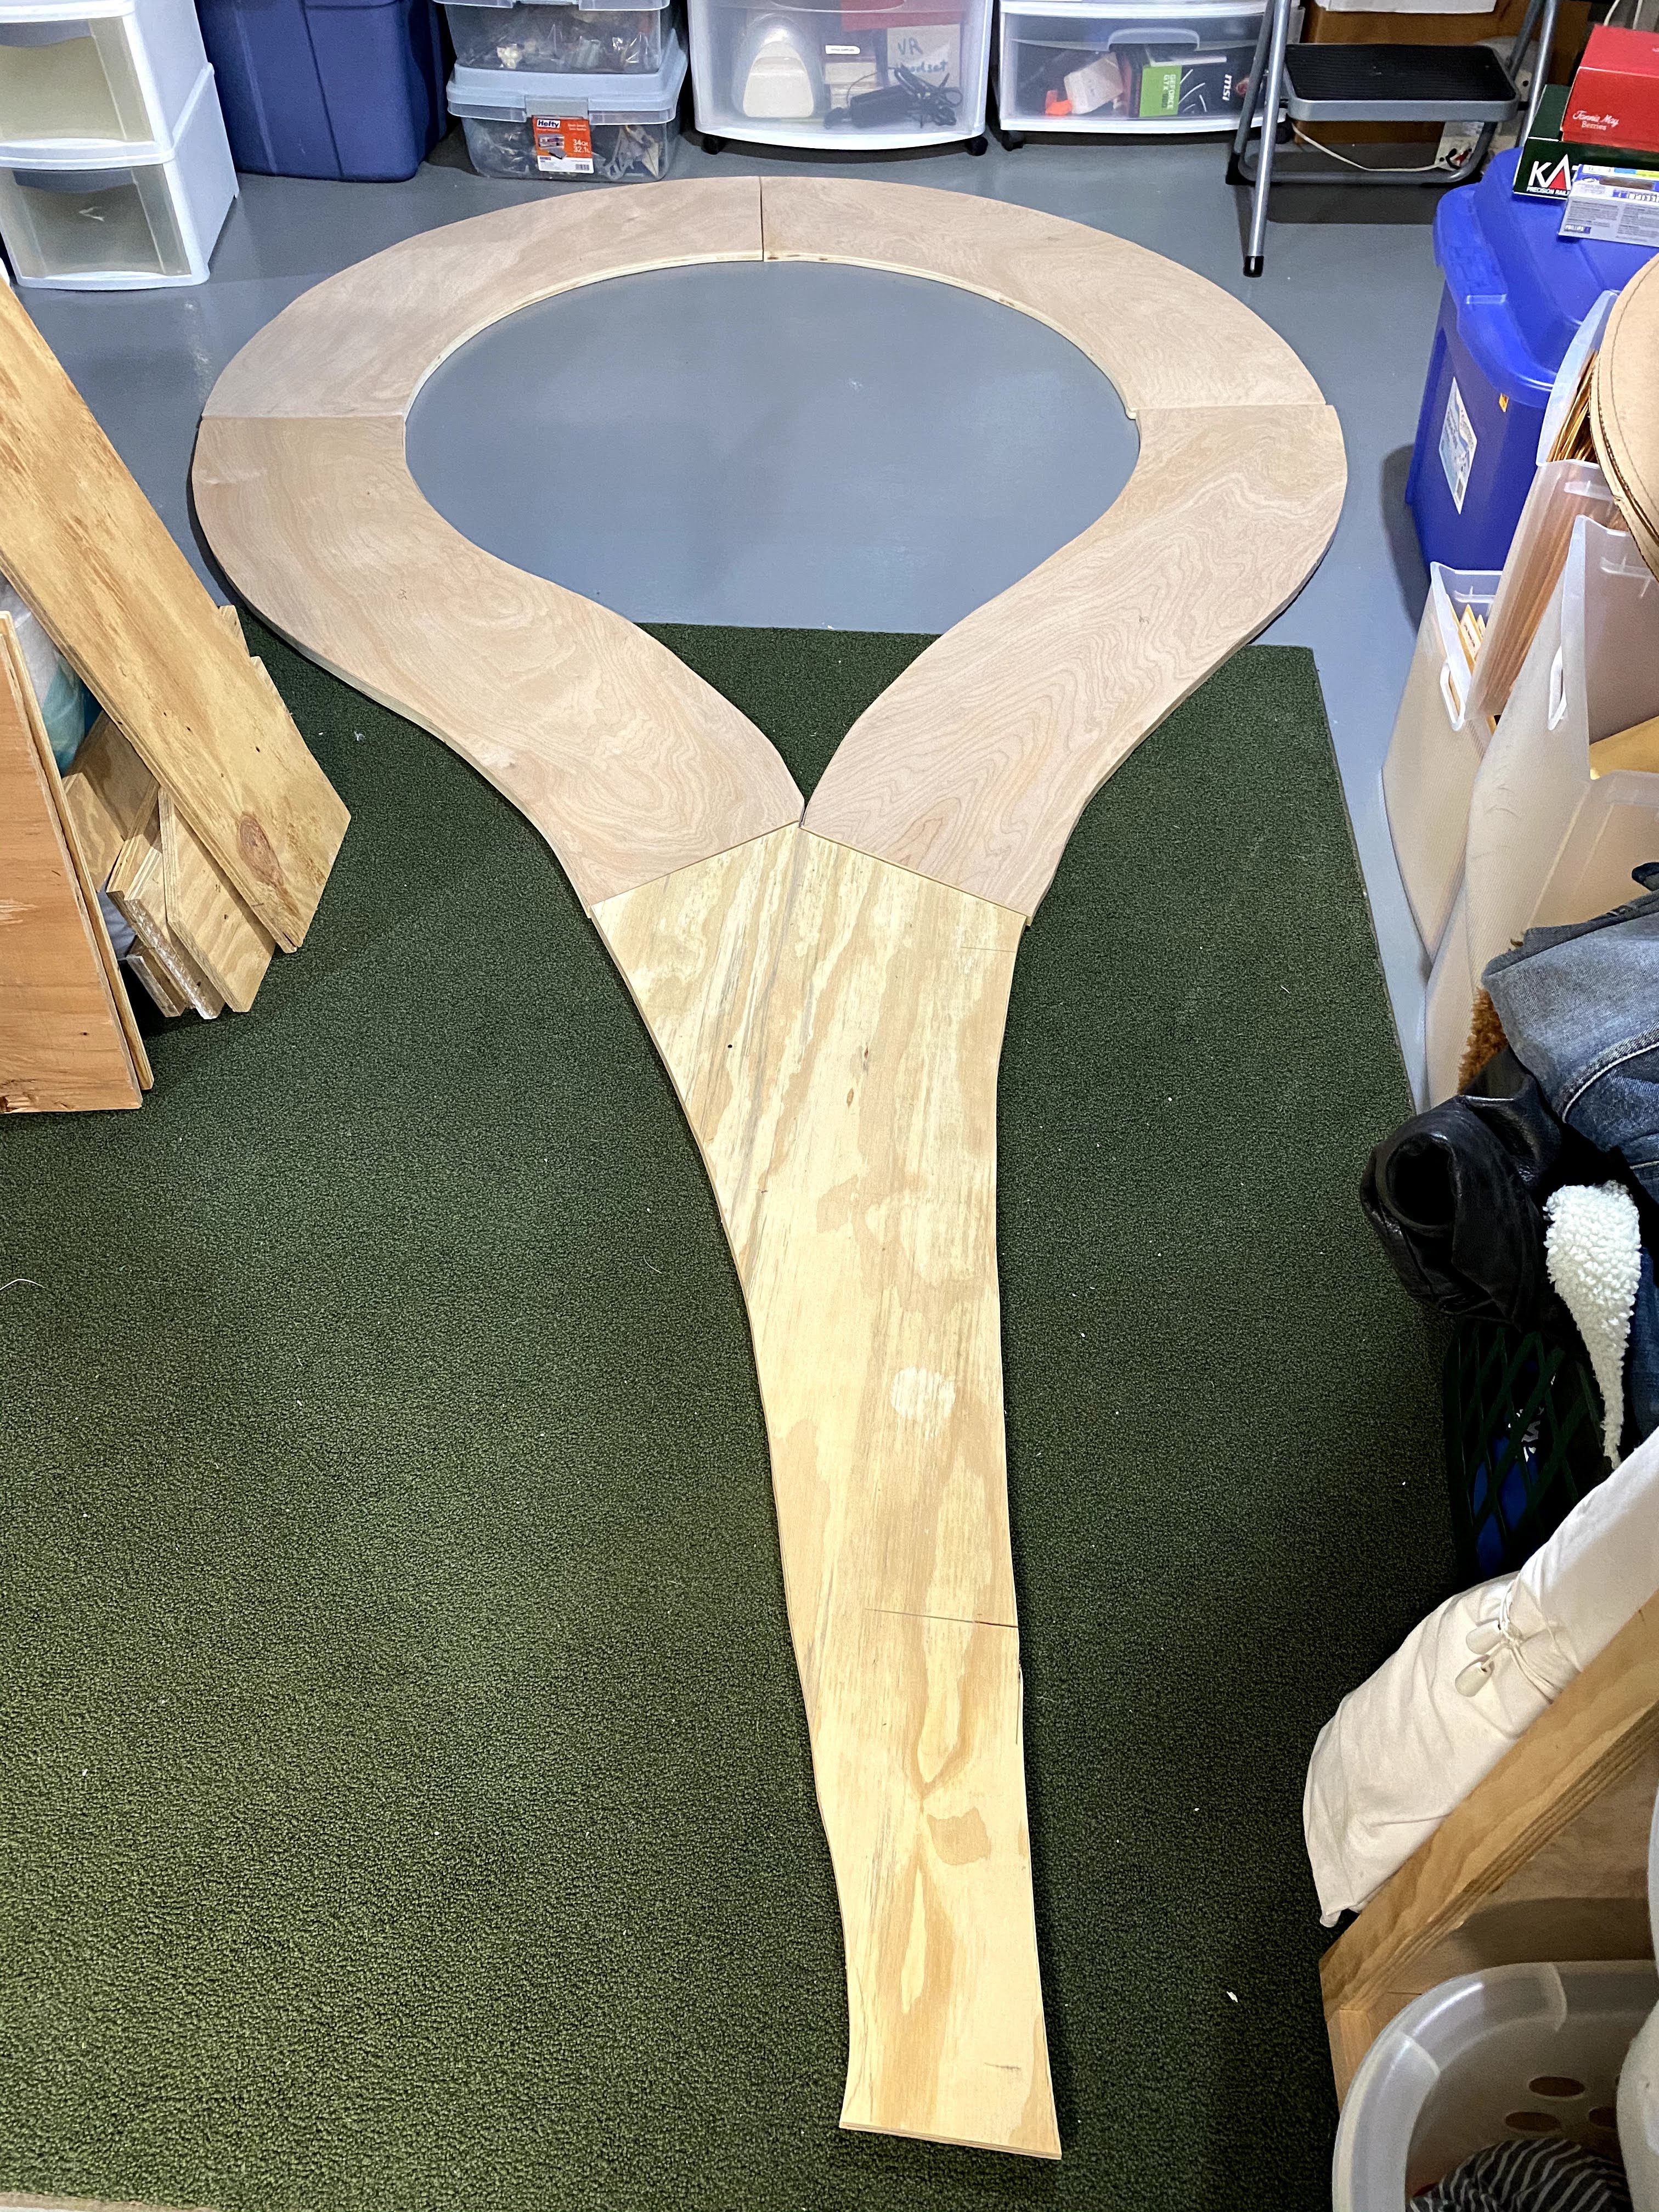 |
| Staging Loop pre-splicing |
 |
| East end staging loop temporarily in place under the Adena Wye area |
In October our one-eyed kitten Mo took a misstep while exploring the layout and fell off the loop on to the concrete floor below (he somehow didn't land on his feet!). I removed the loop and began work on it starting with some Masonite edge guards originally meant for trains but now serving double duty to protect a kitten with bad depth perception.
 |
| Mr. Mo posing with the staging loop and the inside set of guard rails installed. |
Tracking laying and wiring started in earnest in mid December after I settled on the yard throat design to maximize the length of the outside track mostly to store and run Brendan's big modern trains.
 |
| Planned yard turnout arrangement |
Below are photos of the track being laid and wiring of the feeders.
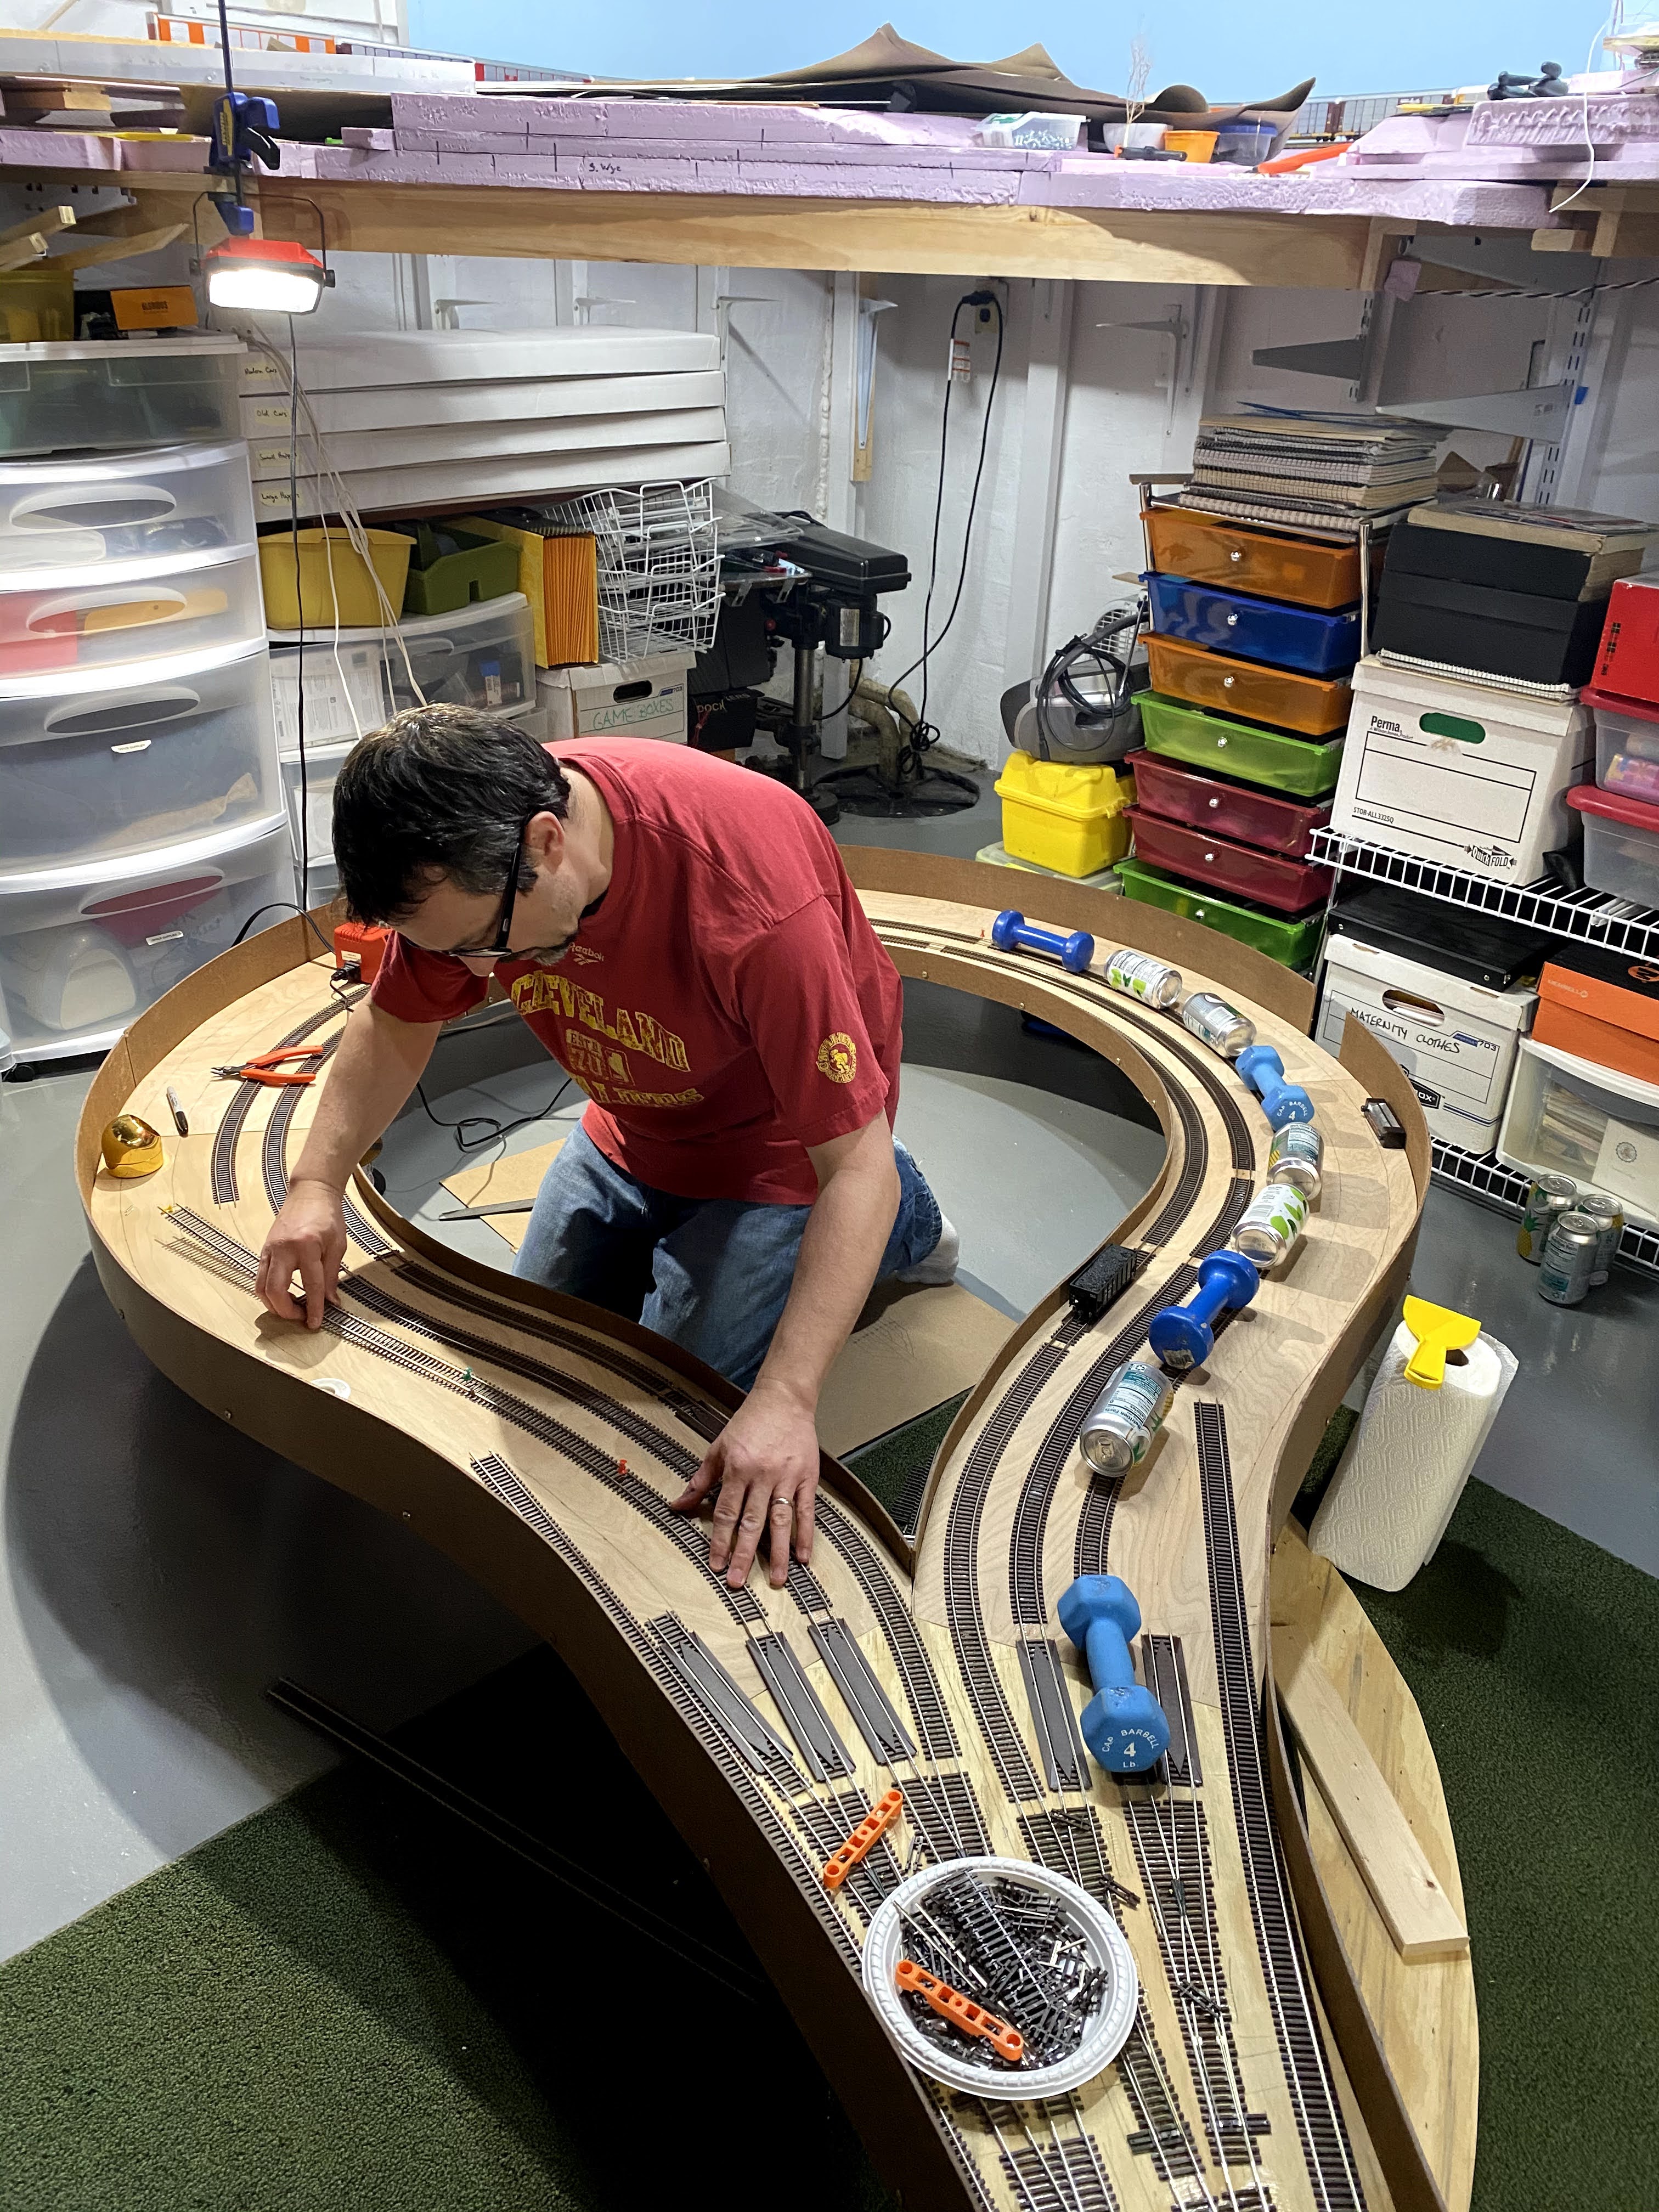 |
| While the adhesive caulk sets up on one track with the weights on it, I start work on another. |
 |
| Getting ready to solder feeders |
 |
| Terminal block for independent power control to the staging tracks |
 |
| Finished and ready to be lifted into place |
Stay tuned for more.
Yahoo!!! We got an update!
ReplyDeleteThanks for sharing your progress, Chris! Been waiting to see what you've been up to!
BTW, if you want a hand getting the loop into place, please let me know!
ReplyDeleteActually in "real time", the loop all in place and operational!
Delete