Track work continues on the east end of Pine Valley with the spur to the Freight House up next to get finished
In real life this spur was almost 1000 feet long and ended at the former W&LE Freight House on Main St. In my model version the spur is almost 3 feet long and can hold three 40' boxcars while the removable section is in place. Below are photos of the spur and freight house.
 |
| 1920's view of east Dillonvale, the station, freight house and mill are all in view. Scanned from the CSU W&LE Collection. |
 |
| Here's a close up of the freight house and the mill in the background. |
 |
| 1973 Freight House view from the NKPHTS Archives. |
The turnout for the freight house spur is located on the removable section which I laid down in part 2 of this series. In the photos the spur track is lower than the mainline so I wanted to make a ramp down from the turnout roadbed. I achieved this with a milled homoasote ramp I purchased from a company that is unfortunately now defunct.
 |
| Homasote ramp |
The homasote ramp wasn't quite long enough, so I had to continue the ramp with some styrene shims. I laminated sections of .020 and .040 styrene and then sanded the entire ramp with a small mouse sander to make a smooth transition.
 |
| Styrene ramp transition. |
To give the impression of buried track next to the freight house, I scraped out about a 1/8 of an inch of the pink foam with a rasp tool.
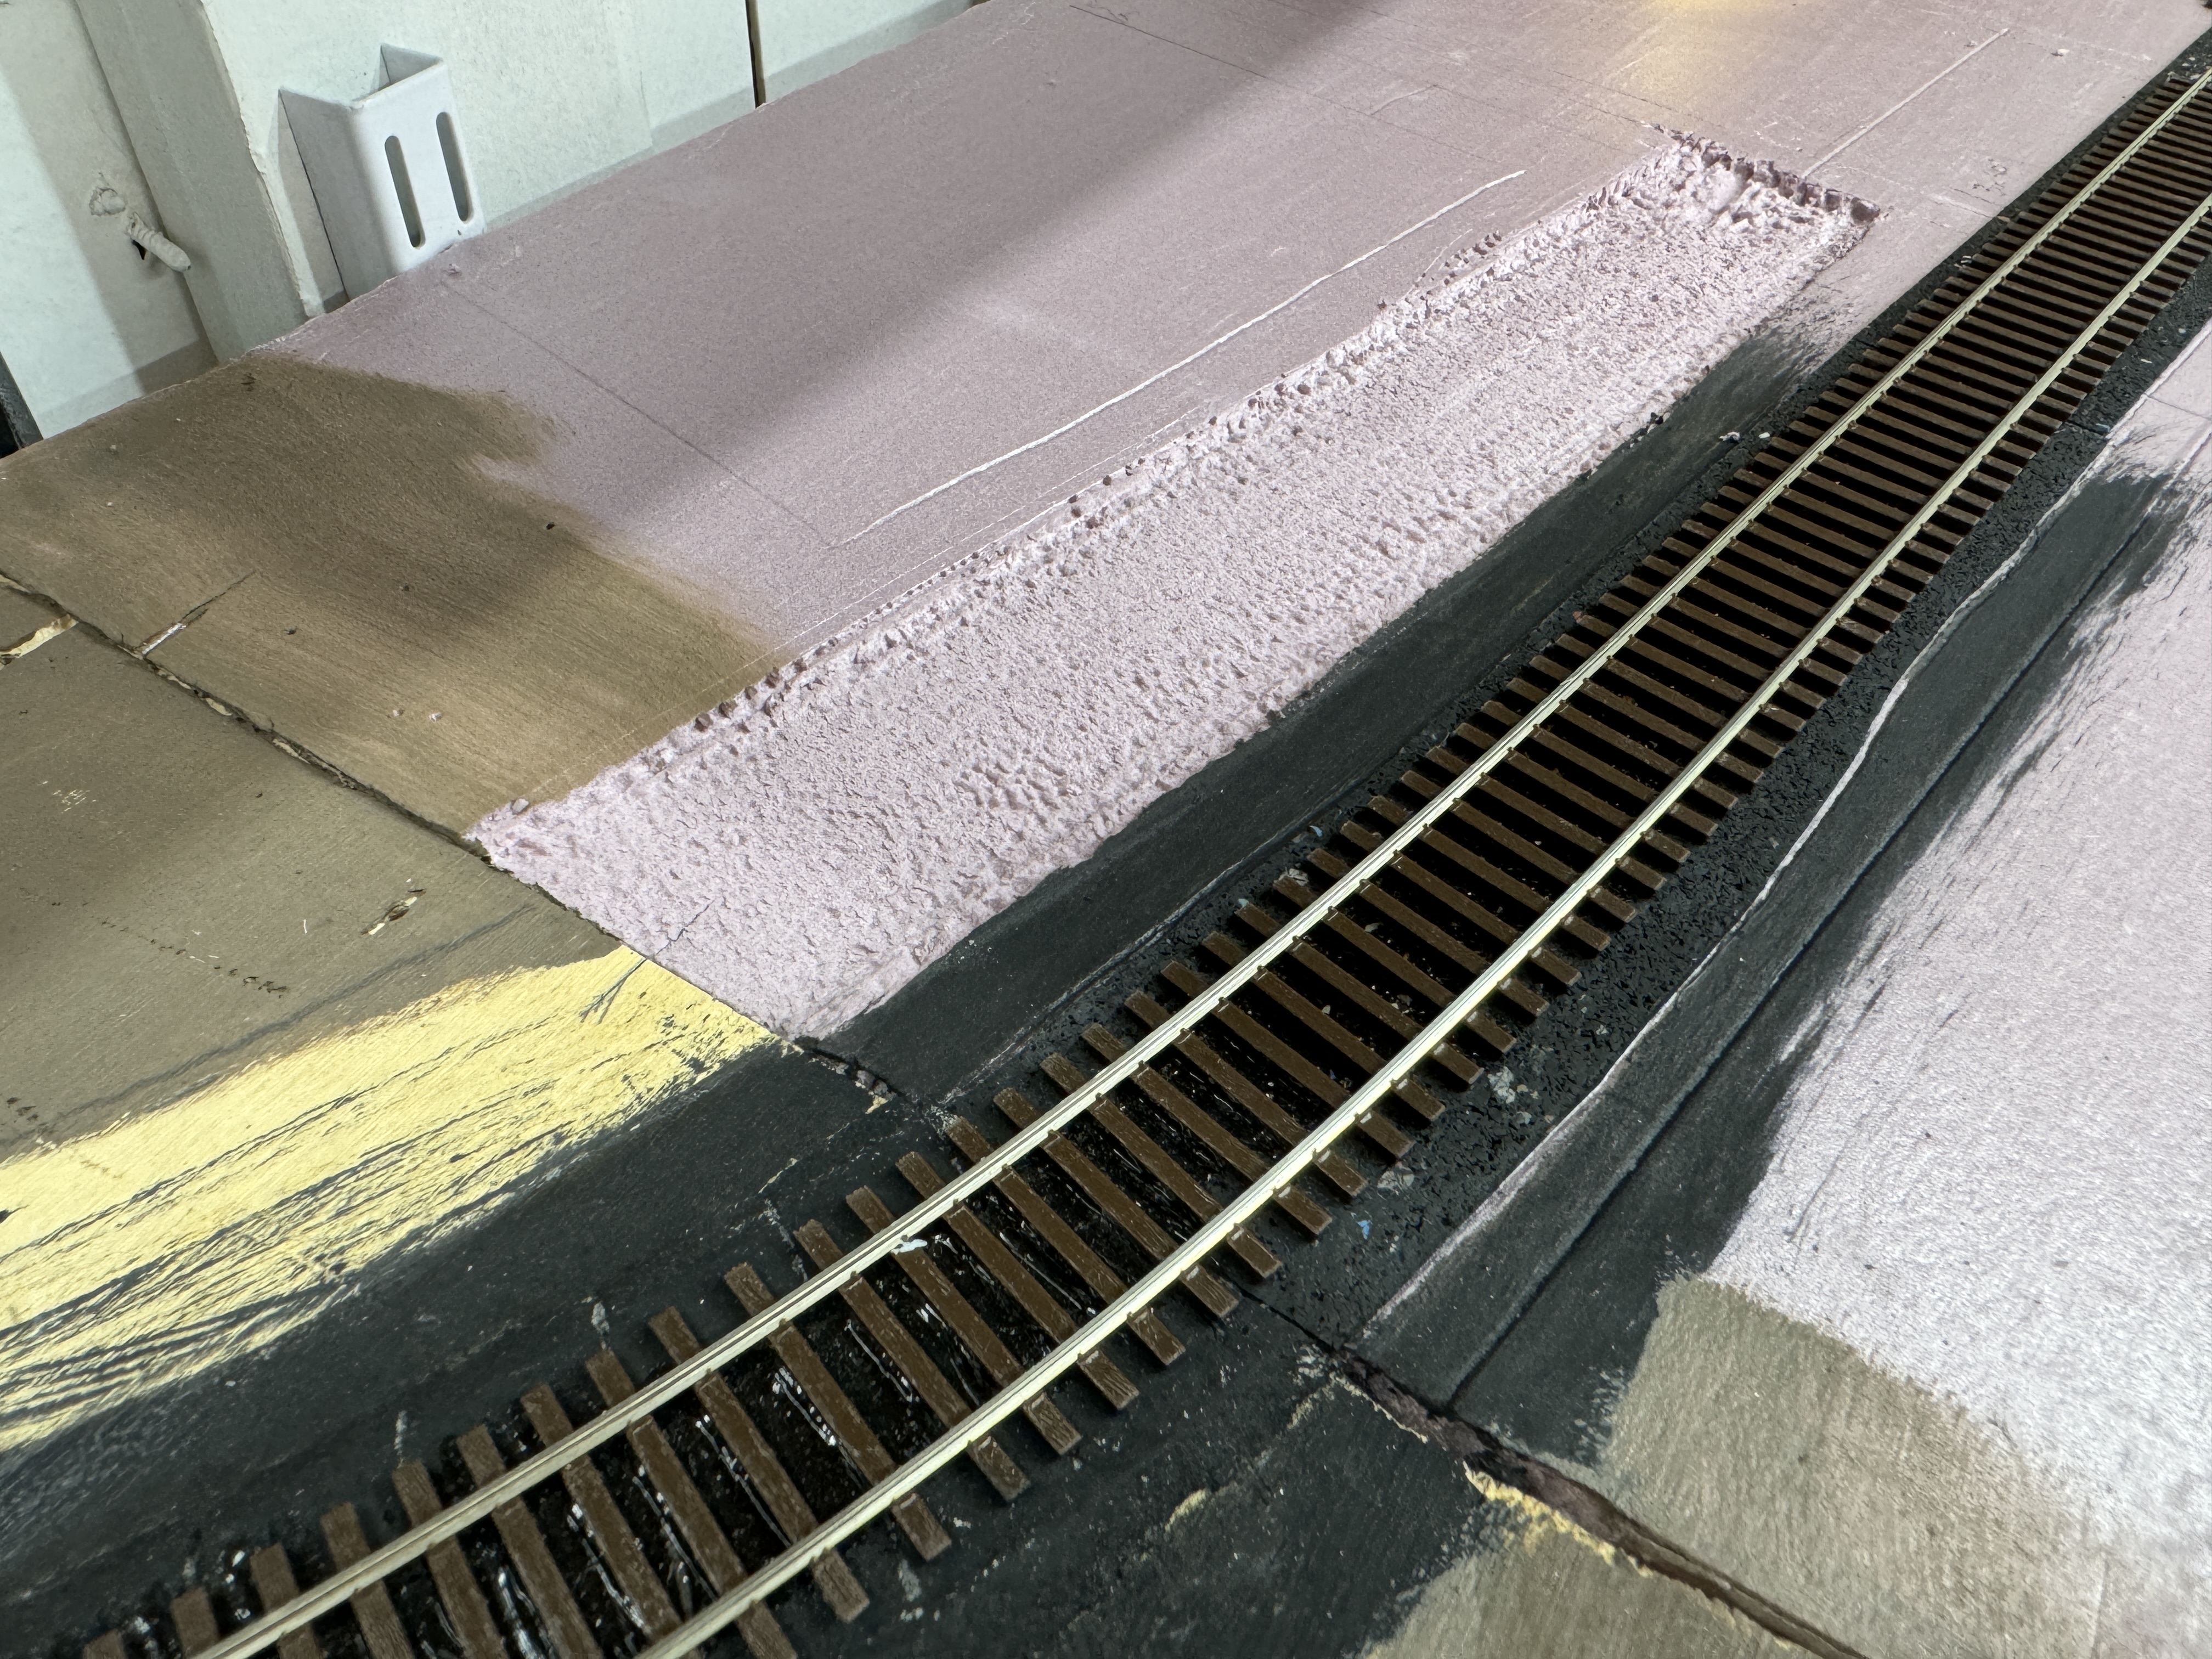 |
| "buried track" slot |
After the adhesive caulking dried, I painted the new track bed with black acrylics.
 |
| Painted and ready for track. |
Once that paint was dry I glued down the spur tack with my trusty DAP adhesive caulk and soldered copper ties to the rails crossing the section joint just like the mainline. Then I cut the joint with my Dremel cut off wheel.
Unfortunately I don't have a model of the W&LE style freight house or even a mockup to use yet. I haven't found the actual dimensions of the former freight house or been able to get consistent guesses from the photos I have. However, since the space allotted for it will be tight with a backdrop in place, it will have to be built to fit no matter what the real dimensions were.
So for now the storage building that comes with the Walthers Grain Mill kit will do as a stand in.
Here's the Dillonvale Freight House scene for now with a couple of cars awaiting unloading.
 |
| Freight House scene for now |
No comments:
Post a Comment