A major request from my son was to have a continuous run option, a feature I also wanted even though I was designing a point to point layout. As it turns out the best spot for a continuous run connection was also behind the furnace which is located near the end of each staging yard. This allows for a mostly hidden but a very steep grade that approaches a 4% rise.
The connection on the lower level is made just on the other side of Long Run Tunnel and will use the #8 turnout I recently built. From there it rises to reconnect to the other end of the mainline as it heads on its way to the West End Jewett/Brewster staging yard.
After writing that last paragraph I realize it's time I offer some kind of track plan. I've been reluctant to draw up my plan because many areas have changed even after starting construction on Adena yard. However for clarity to the reader I'll need to get to work on a presentable version of "The Plan" as it stands now.
For the construction of the continuous run section I changed to 3/4" plywood. I made a template for this section by laying tracing paper taped together on my foam base and marked out the track arrangement. I then transferred this to my plywood and used a cheap (free) under powered jigsaw to slowly cut out my roadbed. I'll need a tool upgrade if I plan on cutting more plywood for sure.
 |
| Left side rises to reconnect with the mainline, right side will descend to Pine Valley |
 |
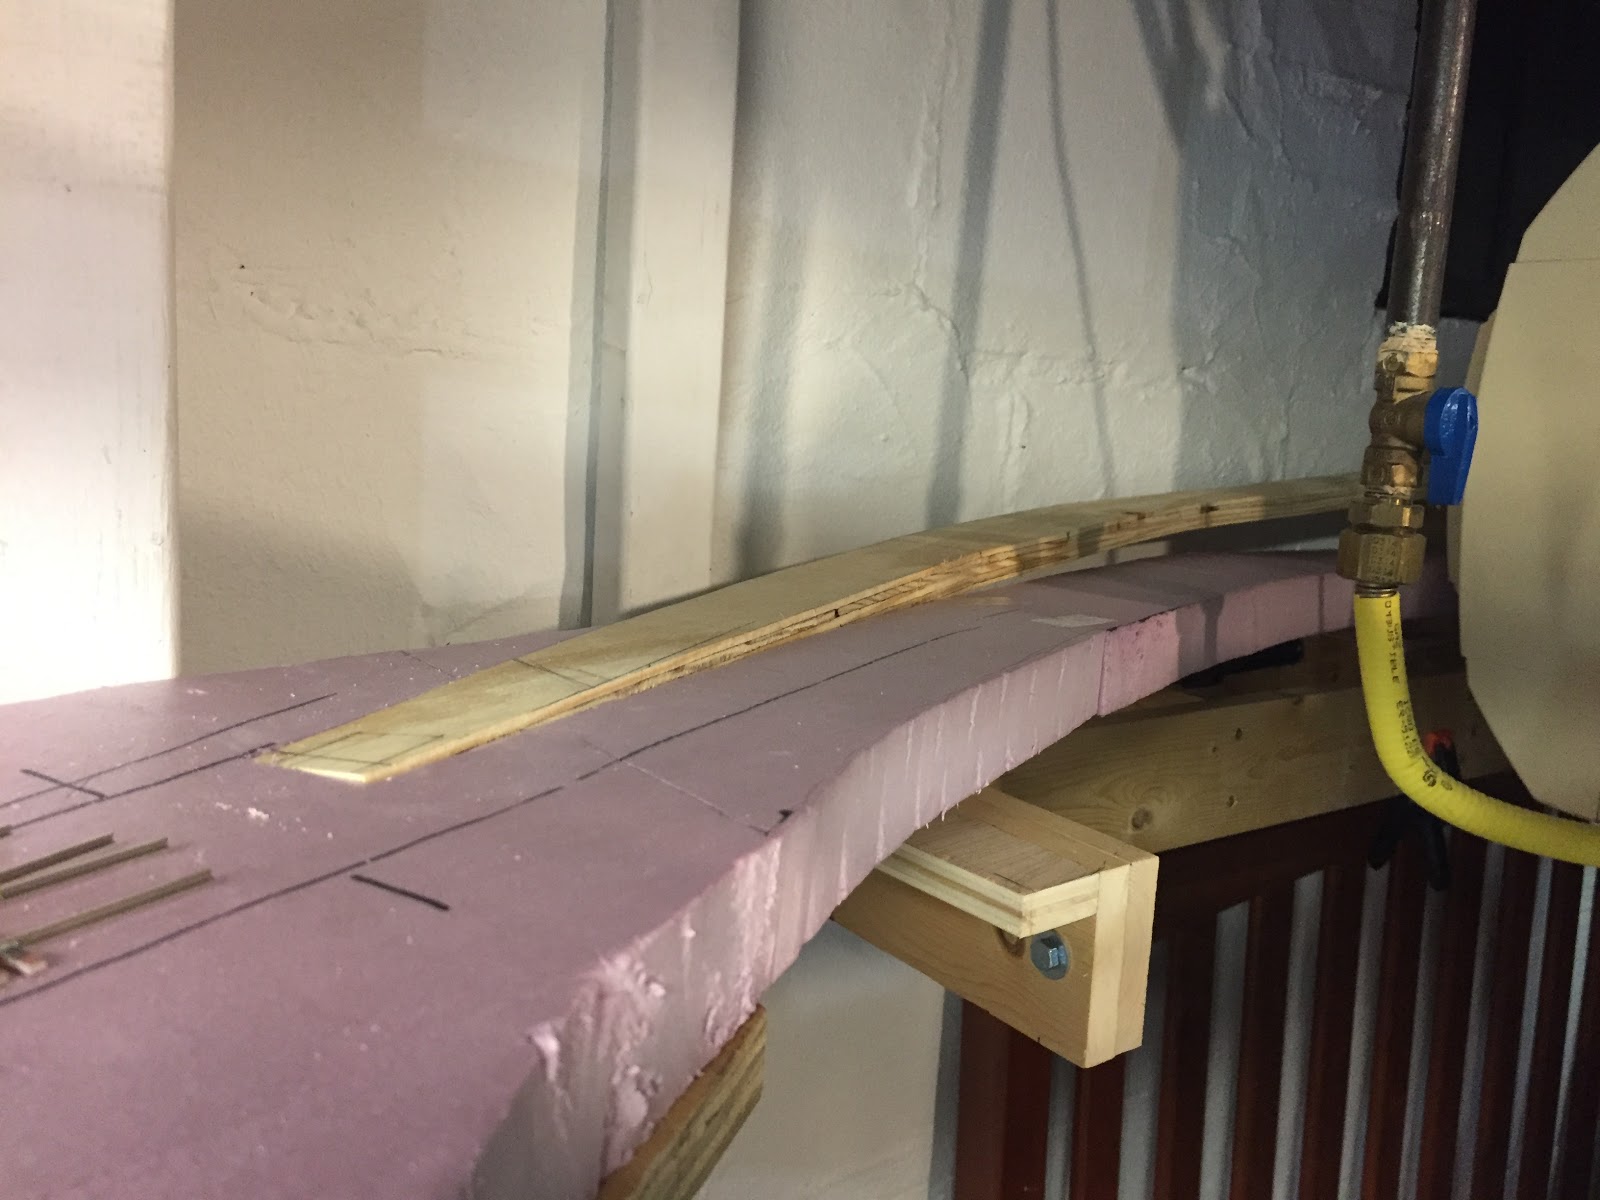
| Tracing the roadbed sections on plywood. |
In order to make a smooth transition from the foam benchwork to the plywood I used a Rotozip tool to rout out a slot for the plywood roadbed.
The Rotozip did a great job on the foam but the shop vac was definitely needed to contain the dust. I also started using the cheap jigsaw that can barely cut plywood on trimming foam. I feel almost silly for using a utility knife all this time when I had these tools to quickly and accurately carve up foam sheets.
The plywood was a perfect fit in the foam and gave me the smooth transition needed to begin the steep grade. I'll attach the plywood roadbed here with two long screws to grab the plywood base under the foam layer. First though I'll have to make the cut for the removable section for accessing the furnace humidifier. In the meantime I attached a majority of the roadbed supports.

With both routes now in place it was time to test my grade down to Pine Valley. The plywood continuous run track will mainly be for downhill west bound running only, so I don't plan on testing the feasibility of an uphill climb there. Of course Brendan is free to lash together all his modern diesels to assault the hill with his double stack trains if he wants.
To double check that my steam engines could handle the climb out of Pine Valley with a 10-15 car train, I quickly threw down some flex track and began testing.
Most westbound traffic from Pine Valley during my operating hours will only be an engine and caboose but at least one job will pick up a train of empty hoppers to haul upgrade. To be sure that could be accomplished easily I tested 10 and 15 car trains of hoppers with my coal coated Accurail hopper loads. A Proto 2000 Berkshire and a Broadway Limited Heavy Mikado were put to work and quickly discovered somehow my grade was steeper than I planned. Neither could pull even 10 cars before stalling out near the top.
 |
| One of the test engines and hoppers. |
 |
| Defeat :( |
I thought I had designed a 1-1.5% grade over 14 feet down to clear the framework supporting the stairs. In previous testing long before I started building the layout this should have been an easy haul, but both the Berk and Mikado failed where they hadn't before. Double-headed they could handle the grade and while this was prototypical for loaded coal out of Pine Valley, it still wasn't an ideal situation for me.
What had gone wrong? Somehow I installed my Pine Valley benchwork too low. I planned for 3.5 inches of clearance under the stair framework but ended up up 4 inches after checking. A bit of background on that 3.5 inch number, the mainline route was actually designed not around my 1950's equipment but my son's modern day 89' Auto Carriers and Double Stack well cars. A loaded double stack stands 3.25 inches high and bare minimum for me is 3.5 inches of room.
To rise the height of Pine Valley Yard back to where it was intended, I added a layer of half inch pink foam I had on hand under the 1.5 inch base layer.
 |
| Back on track as designed, 3.5 inches instead of 4 inches of clearance for the occasional alternate future reality train running. |
After an unplanned evening spent cutting more foam I was eager to see what the added half inch would do to improve performance.
 |
| The 776 is ready for another try. You can see the lighter colored half inch pink foam I added to boost the height of Pine Valley. Rising above is the continuous run track which still needs some supports added. |
 |
| I think I can! |
 |
| Success! |
It's amazing what a difference a half inch can make. This time around the Berk had no trouble with 15 loads and a caboose. On a separate run the Heavy Mikado made easy work of the grade as well.
I'm glad this problem was resolved so easily and that I had a sheet of half inch foam on hand! For a moment I was really concerned about the future of my plans as I'll have two other similar grades.
As for the future...
 |
| Stop! Bridge out. |
I'm going to have to start some bridge building soon.


Are the locomotives all metal wheels or do any have traction wheels?
ReplyDeleteNo traction tires and only maybe 1/3 the freight car fleet has metal wheels. The goal is to have all metal wheels but with almost 200 hoppers to upgrade that will take a while. In the meantime I am cleaning up the trucks with a reaming tool so the wheels spin easier.
Delete