Because part of Pine Valley Yard ducks under the stairs (necessary evil and not a big deal as there shouldn't be much switching here), I knew I needed to have the track preformed and ready to glue down. To achieve this I didn't glue down the foam layout sections right away so they could be removed and rearranged on the floor. While on the floor I transferred my track plan to the foam and also to a paper template for cutting the rubber roadbed sheeting.

I then curved the code 70 Micro Engineering flex track (which is easier said than done) for the area that will run under the stairs.

The track then was painted with the same Rust-Oleum Camouflage Brown I used in my test scenery module. I taped off the ends so I could solder wire feeders and allow rail joiners to slip on the rail ends easier.


A simple block of wood was used to wipe the paint off the rail tops as the paint dried.


In the photo below I gathered all my tools I've used while laying track. I only soldered a few flex track joints, mainly the track labeled Y3. While I don't expect a lot of seasonal expansion in a layout built from mainly foam, rubber and caulking, I'd rather error on the side of caution and leave small gaps in between rails to allow some movement.

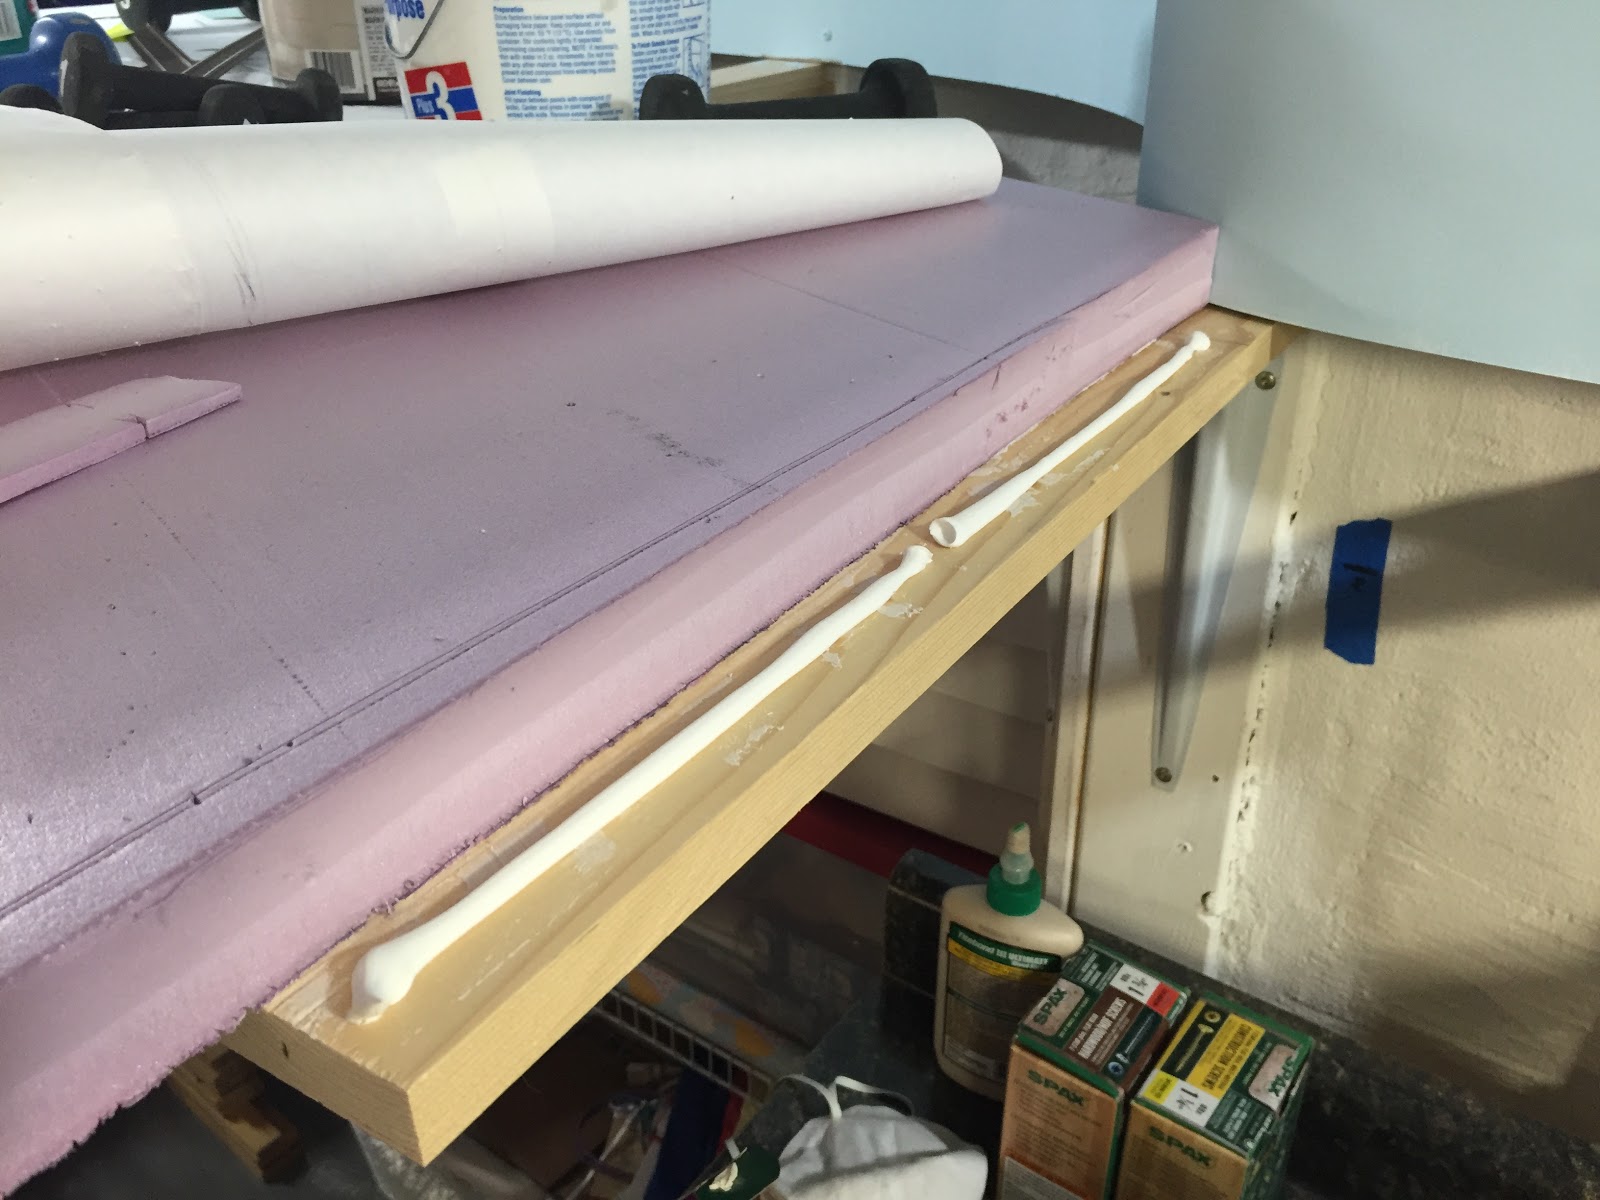
The Soup Can Express arrives in Dillonvale indicating some freshly glued track. All my track is glued down with a thin spread out bead of DAP Clear Kitchen & Bathroom Adhesive Sealant.

I built six #6 turnouts for the east yard ladder and engine terminal leads and used one previous built turnout for the Grocery Distributor spur at Dillonvale. For the east yard ladder turnouts I used the laser cut QuickSticks that came with the Fast Tracks #6 kit to see what those were like. These were glued to the assembled switch with a contact adhesive, then the sides were snapped off. I guess I was a little stingy with the glue as I had to apply more adhesive in a few spots where the ties fell off after removing the side supports.
 |
| How does all the junk pile up so quickly? |
Over all I like the Quicksticks a lot for the time savings compared to working with individual ties but I got into the hand built turnout game to save money. The Quicksticks are $7.35 each and the equivalent of individual ties are probably under a dollar. With Fast Track's purchase of Mt. Albert Scale Lumber they'll get my money either way.
Here's a turnout with Mt. Albert HO scale cross ties stained with Minwax Walnut color and spiked down. A lesson learned here is since I'll end up spray painting the track my camo brown color anyways, I'll skip the Minwax stain next time. Perhaps if I know I won't paint the track in an area for a long time, I'll stain the ties with just a strong India ink wash.
Also I could probably use a few more spikes to hold the rails down since the PC board ties don't drop low enough to touch the adhesive caulk. And yes, the wood tie/caulking/rubber sheet does hold spikes very well, I tested this about two years ago and the results have held up over that time.

To speed the process using individual ties I made a jig to help cut and arrange the ties. I then used painters tape to collect the ties and then set them in the caulking as seen below.

Either using the Fast Tracks quick sticks or hand laying ties, I've really enjoyed this part of track laying. I've often joked that I felt like the skills needed to hand lay track and turnouts must involve some kind of voodoo or black magic, but as with most things once you try it yourself it's not that bad.
Having everything fit together according to plan so far is a great feeling. There's some unusually hot weather for June coming in the forecast in the next few days, hopefully I'll get some more time in the cool basement for some trackwork.